How to Wade a Trout River Safely
By My Custom FlyBox Team
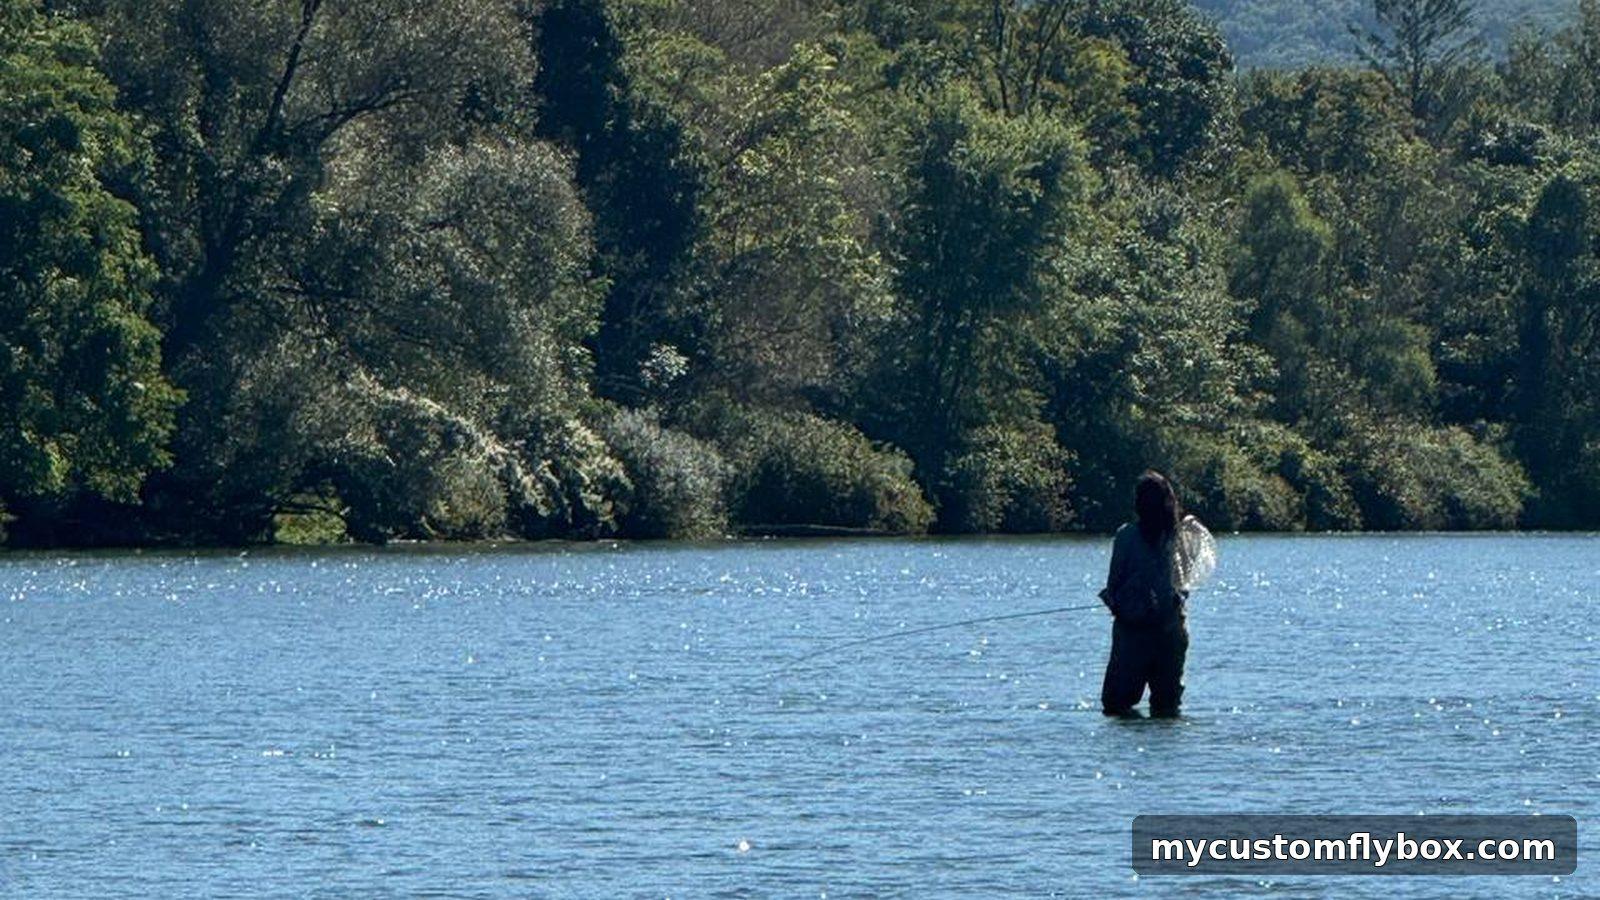
How to Wade a Trout River Safely
Safe wading starts before your boots touch the river. A trout stream can look harmless from the road and still have enough push to sweep a foot out from under you. Cold water, slick ledge, loose cobble, rising flows, and deep outside bends all change how far you should step and whether you should step in at all.
Good wading also catches more trout. The safest route is often the fishiest route: slow edge water, soft seams, shallow shelves, and downstream approaches that keep you out of the main push. When you slow down and treat the river like moving water instead of a path to cross, you spook fewer fish and make better casts.
This guide is written for trout anglers on Catskills freestones, Upper Delaware tailwaters, Pennsylvania limestone water, and similar rivers where a knee-deep mistake can become serious. It does not replace judgment on the bank. It gives you a working routine for reading the gauge, reading the current, choosing footing, and building a fly box that lets you fish safely from where you can stand.
Gauge checks
Check the closest useful stream gauge before you leave. The United States Geological Survey collects water data at monitoring locations across the country, and many stream gauges report near-real-time streamflow, gauge height, water temperature, and other conditions. Those numbers do not tell you exactly where to put your foot, but they do tell you whether the river is rising, falling, low, high, or changing fast.
Start with trend. A stable river is easier to read than a rising river. A falling river often clears and softens as the day goes on. A sharp rise after rain is the warning sign. Water that was safe at breakfast may be pushy by lunch, especially on freestone streams like the Beaverkill and Willowemoc, where tributaries and mountain rain can move quickly through the valley.
Then look at discharge and gauge height together. Discharge, usually shown in cubic feet per second, tells you how much water is moving past the gauge. Gauge height tells you how high the water sits at that station. Neither number means much by itself until you know the river. A small creek at 600 cfs may be out of shape. A large tailwater at 600 cfs may be low. Keep notes after each trip so the gauge becomes tied to actual crossings, shelves, pools, and safe bank routes.
If you want a deeper gauge routine before a trip, read How to Read a USGS Gauge Before You Go Trout Fishing. For same-day New York conditions, pair the gauge with the current West Branch Delaware fly fishing report or Beaverkill and Willowemoc fly fishing report before choosing a reach.
First look from the bank
When you reach the river, stand still for a few minutes. Do not rig while walking straight to the water. Look for color, speed, depth changes, and debris. Watch foam lines. Watch leaves. Watch how fast bubbles move across the run. If floating leaves or sticks are sliding faster than you can walk on dry ground, the middle current deserves respect.
Look for the river's soft parts before you look for the far bank. Safe wading routes usually follow inside bends, gravel shelves, shallow riffle lips, tailout edges, and side channels. Unsafe routes often cut across outside bends, deep troughs, ledge slots, pushy riffle centers, and narrow chutes where all the current is squeezed together.
Fish the near water first. Many trout hold in the first ten feet of river, especially in high water, stained water, summer shade, and low-light conditions. If you step through that edge to reach the middle, you may ruin the best water and put yourself in the main push for no reason. Make short casts from the bank. Work the cushion below near rocks. Drift a nymph along the first seam. Skate an Elk Hair Caddis under the grass before your boot shadows the water.
Current seams
A current seam is the line where two speeds of water meet. Trout use seams because food collects there and the fish can hold in slower water while feeding into faster water. Waders should use seams for a different reason: they show where the river changes force.
When you step from slow water into fast water, do it at an angle and test the bottom first. Keep your upstream foot planted until the downstream foot finds solid footing. Do not shuffle blind into a dark slot. If the new current pushes your shin hard enough that you have to lean against it, stop. You may be able to fish from that position, but crossing farther may not be worth it.
Avoid crossing at the head of a fast pool or above a deep tailout. If you slip, the current has room to carry you into deeper water. A shallow riffle with a broad gravel bottom is usually safer than a slick pool tail, even if the riffle looks busier. The best crossing is not always the shortest line. It is the line with the widest current, the shallowest bottom, and the fewest consequences if you stumble.
Footing and gear
Boots matter. Felt soles grip many slick rocks well, though local rules and invasive species concerns may affect where anglers use them. Rubber soles with studs can be better on mud, trails, and mixed bank walking. Whatever you wear, clean and dry your gear between waters to reduce the chance of moving invasive species or unwanted organisms from one watershed to another.
A wading staff is useful on rivers with ledge rock, heavy cobble, deep crossings, or low visibility. Use it as a third point of contact, not as a cane you drag behind you. Plant the staff upstream and slightly ahead, test the depth, then move one foot. In high or cold water, two feet and a staff on the bottom beat pride every time.
Wear a wading belt. Keep it snug. A belt will not make a bad crossing safe, but it can slow water from filling your waders if you fall. In cold months, carry dry clothes in the truck and keep a waterproof layer where you can reach it. The National Weather Service warns that cold water can cause sudden gasping, rapid breathing, impaired movement, poor decision-making, and hypothermia. Warm air does not make cold water harmless.
Water temperature
Wading safety and trout safety overlap when water temperatures get extreme. Cold water makes a fall more dangerous for you. Warm water makes fighting and handling trout more dangerous for the fish.
In early spring, snowmelt and reservoir releases can keep water cold while the air feels comfortable. That is when anglers get fooled. A sunny April afternoon on the Beaverkill can still mean cold, heavy water around your legs. A mild day on a tailwater can still mean a release that chills your feet, slows your steps, and gives you less time to recover from a fall.
In July and August, use a thermometer and stop trout fishing when the water is too warm. My Custom FlyBox uses 68 F as a practical caution line in its trout content. If the river is near or above that mark, especially late in the day, switch to colder water, fish early if legal and appropriate, or leave the trout alone. The full warm-water routine is covered in Water Temperature and Trout: When to Stop Fishing.
Fishing from safe positions
A safe wading plan changes your fly choice. If you cannot stand where you usually stand, do not force the same rig. Build the presentation around reachable water.
From the bank, a dry-dropper can cover soft edges and broken riffles without deep wading. Use a buoyant Stimulator, Elk Hair Caddis, or foam beetle when conditions fit, then hang a Pheasant Tail, Hare's Ear, caddis pupa, or small jig nymph below it. Keep the dropper short enough that you can lift it cleanly before it drags into brush or bottom.
In heavier water, nymph close. High-stick the near seam with a weighted stonefly, Walt's Worm, Hare's Ear, Pheasant Tail, or caddis larva. Use enough weight to tick bottom in the softer lane, not enough to anchor in the main current. Short casts give you control and keep loose line from pulling the fly into faster water.
Streamers can be useful when the river is high but fishable, especially as flows fall and clarity improves. Fish them from the bank first. Cast upstream along your own edge, across to a soft seam, or quartering downstream where you can control the swing. A Woolly Bugger or small sculpin in size 4 to 8 can move fish without requiring a dangerous crossing.
For more fly-box planning around changing water, see The High-Water Trout Fly Box and How to Build a River-Specific Fly Box.
Crossing decisions
Before you cross, ask what the crossing gains. If the answer is only a slightly better casting angle, stay put. If the far bank has shade, rising fish, safer walking, or the only legal exit, the crossing may still be worth considering, but the river gets a vote.
Use these stop signs:
- You cannot see or feel the bottom.
- The water is rising or carrying fresh debris.
- The current pushes above your knees with force.
- The bottom is ledge, algae, loose cobble, or deep silt.
- You would not want to cross the same line again in fading light.
- There is a strainer, logjam, fast chute, or deep pool below you.
- You are alone and the water is cold, high, or unfamiliar.
Crossing downstream is often easier than crossing straight across. Face upstream or quarter upstream so you can see the water. Move one foot at a time. Keep your stance wide. Do not lock your knees. If you fish with another angler, cross one at a time unless you both know how to support each other safely. Two people falling together is worse than one person choosing a better route.
Fly box choices
A safe-wading fly box is compact and practical. You want patterns that fish close, cover several water types, and do not require constant rerigging in bad footing.
Carry these basics:
- Parachute Adams, 14 to 20, for general mayflies and visible dry-fly work
- Blue Winged Olive emergers and duns, 18 to 22, for cloudy days and small sips
- Elk Hair Caddis, 14 to 18, for broken water, skittering caddis, and dry-droppers
- Stimulators or small stonefly dries, 8 to 12, for rougher pocket water and suspending nymphs
- Pheasant Tails, Hare's Ears, and Walt's Worms, 12 to 18, for close nymphing
- Caddis pupa and larva, 14 to 18, for riffles and soft seams below faster water
- Zebra Midges, 18 to 22, for winter, tailwaters, and slow technical water
- Woolly Buggers and sculpin patterns, 4 to 10, for stained or falling water
Organize the box so you can change flies without standing in current for five minutes. Put the day's likely patterns in one side or one small working box. Keep split shot, indicators, floatant, and tippet simple. If you use the My Custom FlyBox app, build a safe-water setup before the trip instead of sorting every fly on a wet rock.
When to stay out
There are days when the right move is to stay on the bank, fish a smaller tributary where legal and appropriate, switch species, or go home. Rising water, thunder, cold heavy flows, stained water with hidden bottom, and warm trout temperatures all deserve that answer.
Do not let a long drive make the decision for you. A blown-out Beaverkill is still blown out if you left before daylight. A tailwater release is still pushy if the fish are rising on the far side. A warm trout river is still warm if you only have one free evening. The safest anglers are not timid. They are honest about what the river is doing.
If you can fish from the bank, fish from the bank. If you can reach trout with a shorter cast, make the shorter cast. If you need a different fly to fish the water safely, change the fly instead of changing the wade. That kind of restraint keeps you upright, protects trout, and usually puts more fish in reach than forcing your way across the river.
References
- USGS Water Data for the Nation, for stream gauges, monitoring locations, real-time water data, and WaterAlert tools.
- USGS Streamflow Monitoring, for background on the national streamgaging network and streamflow data collection.
- National Weather Service Cold Water Hazards and Safety, for cold shock, cold-water immersion, hypothermia, and preparation guidance.